
How to Saddle Stitch Bind a Book: A Simple Guide to Professional-Looking Booklets
Saddle stitch binding is the simplest method for creating small booklets at home, requiring nothing more than folded paper, a long-arm stapler, and about 15 minutes of your time. This technique works by folding nested sheets in half and stapling them along the fold line (the spine), producing a professional-looking booklet of up to 16 sheets of 80gsm paper. It’s the same method used for magazines, zines, and pamphlets you see every day, which makes it perfect for self-publishers creating chapbooks, comic creators printing short runs, or anyone looking to bind their own reading material.
The beauty of saddle stitching lies in its accessibility. You don’t need specialized equipment beyond a stapler with an extended jaw (designed to reach the center of your folded pages), and the process forgives small imperfections while still delivering clean results. Whether you’re binding your own poetry collection, creating handouts for a community reading group, or even assembling materials for literature review games this binding method lets you take control of your creative output without investing in expensive tools or professional services. Most importantly, you’ll finish with something tangible that you made yourself, ready to share with readers who appreciate handcrafted books.
What You’ll Need: Tools and Materials for Saddle Stitch Binding
Understanding Paper Specifications
Paper specifications might sound technical, but understanding them is simpler than you think. Let’s break down what these numbers mean for your saddle stitch project.
Paper Size Matters
Your maximum paper size for saddle stitch binding is A3+ format, which measures 315-440mm. This is slightly larger than standard A3 paper, giving you extra room to work with and trim. Think of it this way: if you’re creating a finished A5 booklet, you’d start with A4 sheets that fold in half. The A3+ capacity means you can handle larger projects or accommodate generous margins.
Thickness Limits Explained
Here’s where it gets interesting. Most saddle stitch equipment can bind up to 20 sheets of 80gsm paper, but here’s the catch: folding capacity is different from binding capacity. When you’re folding your pages, you’re limited to about 16 sheets of 80g paper. Why? Because folded pages create bulk at the spine, and cramming too many sheets makes crisp folds nearly impossible.
That 80gsm specification refers to standard copy paper weight. If you’re using thicker cardstock for covers or thinner paper for interior pages, you’ll need to adjust your sheet count accordingly. Twenty sheets of 70g paper represents the absolute maximum for most standard equipment.
Why These Constraints Matter
These limits aren’t arbitrary. Exceeding them means misaligned pages, sloppy folds, and staples that don’t penetrate properly. Stay within these boundaries, and you’ll achieve professional results every time. Planning a thicker booklet? You’ll want to explore different binding methods instead.
Choosing the Right Stapler
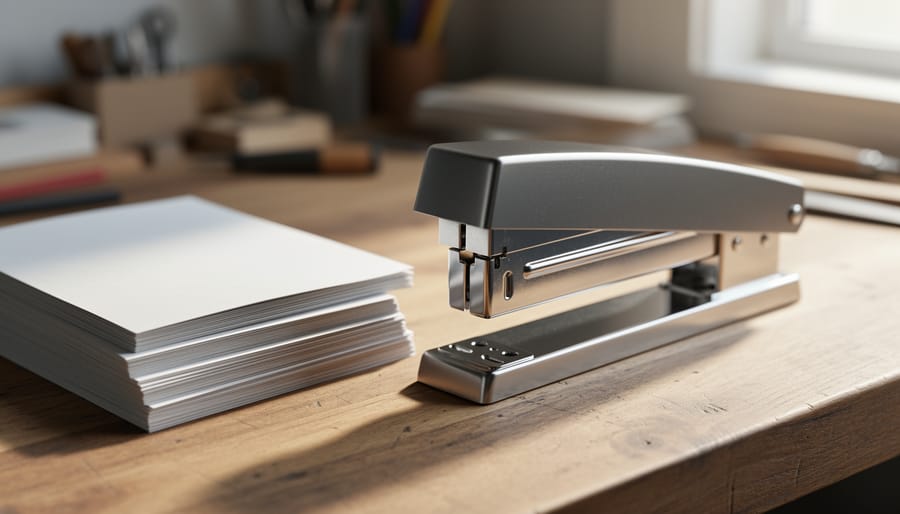
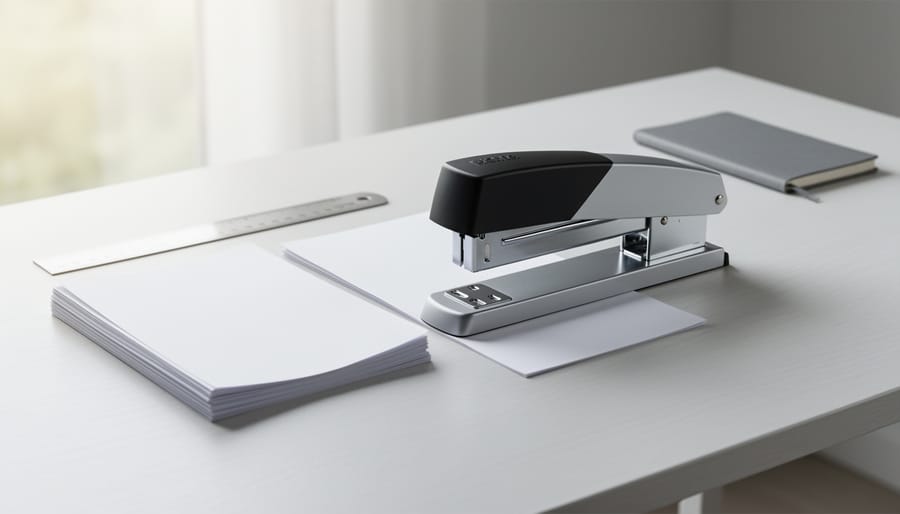
The stapler you choose makes all the difference in saddle stitch binding. Unlike standard desktop staplers with their modest 50-60mm reach, you need a specialized long-reach saddle stitch stapler with jaws extending 150mm or more to reach the center fold of your booklet. These machines are built specifically for this purpose, positioning the staple precisely along the spine crease.
You’ll encounter two main types: manual and electric. Manual staplers work through hand pressure or a lever action, giving you direct control over each staple. They’re portable, need no power source, and suit smaller projects perfectly. Electric models, typically running on 220v/50hz with around 70w of power, speed up the process considerably and reduce hand fatigue when you’re binding multiple copies. The trade-off? They require a power outlet and cost more upfront.
Consider your project scope when deciding. Binding a few dozen booklets for a reading group? A quality manual stapler will serve you well and costs less. Planning regular production or larger batches? An electric model pays for itself in time and comfort. Either way, ensure your stapler accommodates your paper size, most handle up to A3+ dimensions (315×440mm), and can punch through your intended thickness without jamming.
Before You Begin: Planning and Safety Considerations
Before diving into your saddle stitch binding project, take a moment to assess whether this method suits your goals. Saddle stitch binding works beautifully for booklets up to about 60-80 pages (that is, 15-20 sheets of paper folded in half), making it perfect for zines, chapbooks, event programs, or small self-published collections. Beyond this page count, the spine becomes too thick to fold cleanly or staple securely, and the center pages will start to creep outward from the outer pages, creating an unprofessional appearance.
For thinner projects, you are in good territory. Remember that most staplers designed for saddle stitching handle a maximum of 16 sheets of 80gsm paper when folding (32 pages total), though some heavy-duty models can bind up to 20 sheets. If your project pushes these limits, test a sample first to ensure clean folds and secure staples.
Set up your workspace with adequate lighting and a flat, sturdy surface at a comfortable height. You will need room to spread out your materials and manipulate full-size sheets, potentially as large as A3+. Keep your work area clear of clutter that could cause misalignment or damage your pages.
Handle electric staplers with care, respecting the power requirements and keeping fingers clear of the stapling mechanism during operation. Even manual long-jaw staplers require firm pressure and proper hand placement. Sharp staples and paper edges can cause minor cuts, so work deliberately rather than rushing through the process.
How to Saddle Stitch Bind Your Book: Step-by-Step Process
Page Preparation and Ordering
Getting your pages in the right order is crucial because once you fold and staple, there’s no going back. Unlike perfect binding or APA citation format in academic work where you can add pages later, saddle stitch binding commits you to the sequence from the start.
Here’s how page imposition works: when you fold a sheet of paper in half, you create four pages. The outside of the sheet becomes pages 1 and 4, while the inside becomes pages 2 and 3. For a booklet, you need to plan backwards from the center spread outward.
Start by numbering your pages sequentially and calculating how many sheets you’ll need. If you’re binding 16 sheets of 80gsm paper (the maximum for clean folding), that gives you 64 pages total. The centermost sheet holds pages 32 and 33 on the inside. The next sheet out holds pages 31 and 34, and so on, working toward the outermost sheet with pages 1 and 64.
Print accordingly, and always create a mockup first. Fold scrap paper, number the corners, then unfold to see which pages land where. This prevents costly reprints and ensures your content flows correctly when readers open your finished booklet.
The Folding Technique
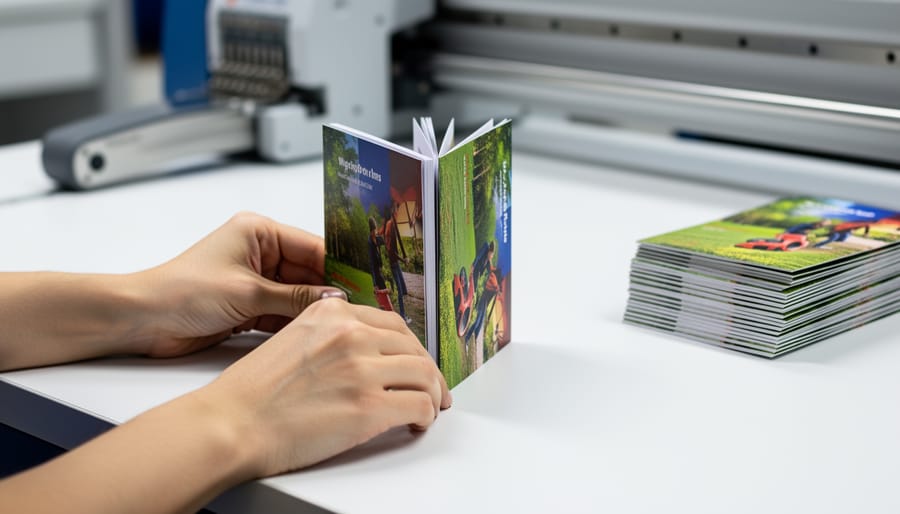
Getting a clean, sharp fold is what separates a homemade-looking booklet from something you’d be proud to share with your reading circle. The good news? With a bit of patience and the right approach, professional results are absolutely within reach.
Start by stacking your printed pages in order, then align all four edges carefully on a flat surface. Tap the stack gently against the table to ensure everything sits flush. For up to 16 sheets of 80g paper, you can fold them all together at once, but here’s where a bone folder or similar tool becomes your best friend. After creasing the paper along your intended fold line, run the bone folder firmly along the crease from center outward to both edges. This pressure creates a crisp, lasting fold that won’t spring open later.
If you don’t have a bone folder, the edge of a ruler or even a clean credit card works in a pinch. The key is applying consistent pressure. Some readers in our community swear by scoring the fold line lightly first with a blunt tool, especially when working with thicker paper stocks, though this adds an extra step.
Always fold away from your body in one smooth motion, and double-check that your pages haven’t shifted mid-fold. Those small misalignments compound quickly across multiple sheets.
Binding and Stapling
Now comes the moment where your careful preparation pays off. Position your folded booklet so the spine sits directly over the saddle or throat of your specialized stapler. This is the channel that allows those extra-long jaws to reach the center fold without obstruction. Make sure the booklet sits flat and the pages align perfectly at the spine before you proceed.
For a standard booklet, you’ll want to place at least two staples along the spine. Most DIY creators find that positioning one staple about a third of the way down from the top and another a third up from the bottom creates excellent stability. If you’re working with a taller booklet, a third staple in the center adds extra security. The key is symmetry and avoiding placement too close to the edges, which can cause tearing.
When you squeeze the stapler handle or activate the electric model, apply firm, steady pressure. You’ll feel the staple pierce through all layers and clinch on the opposite side. Check immediately that each staple has gone through cleanly and that the legs have folded flat against the center pages. A properly set staple should lie flush, not stick up or twist.
If a staple doesn’t fully penetrate or sits crooked, remove it carefully with a staple remover and try again. Working with the maximum thickness (16 sheets of 80gsm) sometimes requires a second attempt or slightly shifting your hand position for more leverage. Don’t get discouraged. Many first-timers need a practice booklet to get the feel right, and that’s perfectly normal in our community.
Checking Your Work and Finishing Touches
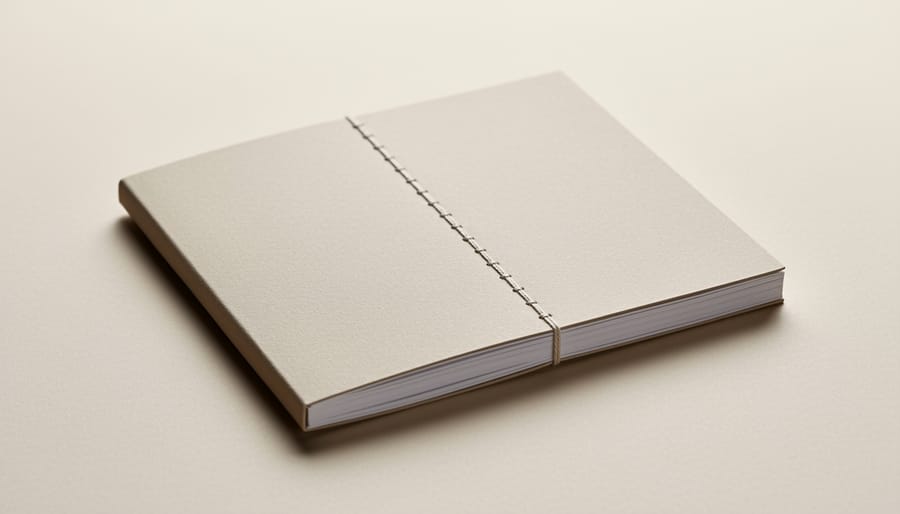
You’ve done the hard work of binding your booklet, and now it’s time to make sure everything holds together beautifully. A thorough quality check separates a rushed job from something you’ll be proud to share with readers or keep in your personal collection.
Start by gently opening your booklet to the center spread and checking how smoothly the pages turn. They should move freely without resistance, and the spine should flex naturally along the fold line. If pages stick or feel stiff, you may have creased them during folding rather than creating a clean, sharp fold. Next, give each staple a firm tug test, not hard enough to damage your work, but enough to ensure they’re fully seated and holding securely through all the layers.
Work through these essential quality checks to ensure your booklet meets professional standards:
- Test page alignment by examining both the spine and outer edges for consistency
- Check staple security by gently tugging the center pages to confirm they’re firmly anchored
- Verify all pages turn smoothly without catching or tearing at the staples
- Inspect for folding inconsistencies like uneven edges or pages that protrude beyond others
- Assess overall appearance from multiple angles, looking for any obvious imperfections
For a truly polished finish, consider trimming the three outer edges with a sharp craft knife and metal ruler. This removes any slight misalignments and gives your booklet those crisp, uniform edges you see in professionally printed materials. It’s not strictly necessary, but it elevates the final product significantly. Just remember to trim conservatively, you can always remove more, but you can’t add paper back.
If everything passes your inspection, congratulations! You’ve successfully created a bound booklet that’s both functional and attractive.
What to Do Next: From Bound Book to Finished Project
Congratulations! You’ve successfully created your first saddle-stitched booklet. Now comes the exciting part: deciding what to do with it.
If you’ve made a zine, chapbook, or portfolio piece, consider sharing it with your community. Local bookstores, coffee shops, and libraries often welcome independently published works, especially if they support local creators. You might also explore book fairs, craft markets, or literary events where handmade publications find enthusiastic audiences. For those interested in expanding their creative network, build author connections with other self-publishers and small press enthusiasts who appreciate the craft of bookmaking.
Storage matters more than you might think. Keep your finished booklets flat in a cool, dry place, away from direct sunlight. If you’re storing multiple copies, slip cardboard between every ten books to prevent warping. For display copies, explore creative book display ideas that showcase your work while protecting the spine from stress.
Scaling up production is surprisingly manageable with saddle stitch binding. Once you’ve perfected your technique, you can comfortably produce twenty to thirty copies in an afternoon. Create an assembly-line process: fold all sheets first, then staple them in batches. This rhythm not only speeds up production but also ensures consistency across all copies, giving your self-published work that professional polish readers appreciate.
Common Questions About Saddle Stitch Binding
For many newcomers to booklet-making, the questions start flowing once the excitement of trying saddle stitch binding sets in. Here are answers to the most common concerns we hear from the WikiLivres community, covering everything from practical limitations to when DIY makes sense.
How many pages can I saddle stitch bind?
You can typically bind booklets up to 16 sheets of 80gsm paper when folding (64 pages total) or 20 sheets when binding without folding first. Beyond this thickness, the spine becomes difficult to staple cleanly and pages won’t sit flat when opened.
What paper weight works best for saddle stitch binding?
Standard 80gsm paper offers the best balance of quality and bindability for most projects. Thinner papers (down to 70gsm) allow slightly more sheets but feel flimsier, while heavier stocks reduce your page count and can crack along the fold.
Is saddle stitch binding durable enough for long-term use?
For small booklets, zines, and short-run publications, saddle stitching provides adequate durability. However, frequent handling, heavy page counts, or projects requiring archival longevity are better served by perfect binding or case binding methods.
Can I saddle stitch without a long-reach stapler?
Standard office staplers won’t reach the center fold of most booklets. You’ll need either a specialized long-jaw stapler designed for booklet binding or a manual saddle stitch tool with hammer-in staples, both of which are reasonably affordable for occasional projects.
The cost comparison often surprises people. A decent manual long-reach stapler runs about the same as binding five to ten booklets professionally, so if you plan to create multiple projects, the investment pays for itself quickly. Electric models with 220v motors add convenience for higher volumes but aren’t necessary for occasional binding.
When should you skip DIY and go professional? If your project exceeds the 64-page threshold, requires a perfectly trimmed edge all around, or needs quantities beyond a few dozen copies, a print shop’s industrial equipment delivers better results. Professional services also make sense when time matters more than budget, or when you want specialty finishes like glossy covers or precise color matching that home printing can’t achieve.
The beauty of saddle stitch binding lies in its accessibility. Most readers find they can produce impressive booklets after just one or two practice runs, and the skills transfer beautifully whether you’re binding personal journals, community newsletters, or small-run literary magazines for your local reading circle.
You’ve now got everything you need to create professional-looking booklets right from your own workspace. Saddle stitch binding isn’t just accessible, it’s genuinely satisfying. There’s something special about holding a booklet you’ve bound yourself, feeling the weight of those pages you carefully folded and secured.
Don’t let perfectionism hold you back from your first attempt. Your initial booklet might have a slightly crooked staple or an uneven fold, and that’s completely fine. Each one you create will be better than the last, and even imperfect bindings can hold stories, poems, or zines that deserve to exist in the world.
We’d love to hear about your saddle stitch projects. What did you create? A poetry collection? A neighborhood newsletter? A handmade gift for someone special? Share your experiences, your stumbling blocks, and your victories with fellow WikiLivres community members. Your journey might inspire someone else to pick up that long-jaw stapler and start binding.
The literary world needs more creators, not just consumers. Your voice matters, and saddle stitch binding is one simple way to give it physical form.
About Author
